Unlock a Flawless Finish: The Critical Art of Pre-Painting Surface Preparation
A professional-looking paint job isn’t just about the color on the walls—it’s about what happens before the brush touches the surface. Surface preparation is the unsung hero of durable, beautiful results in any painting project, whether refreshing a bedroom or revitalizing exterior trim. Skipping this step leads to peeling, blistering, and uneven coverage, wasting time and money on premature repaints. Proper prep ensures paint adhesion, maximizes longevity, and delivers a smooth, blemish-free finish that elevates your home’s aesthetics and value. Investing 75% of your project time in preparation isn’t excessive—it’s essential craftsmanship. For DIYers and pros alike, mastering these foundational techniques transforms good results into exceptional ones.
Why “Just Painting Over It” Guarantees Failure
Paint adhesion relies entirely on the surface beneath it. Common contaminants like dust, grease, or old flaking paint create barriers, causing new coats to lift prematurely. Moisture trapped in improperly sealed wood or drywall leads to bubbling and mildew. Temperature fluctuations and UV exposure exacerbate these issues, especially outdoors. Crucially, paint highlights—rather than hides—surface flaws like cracks or sanding marks. Understanding this science underscores why preparation isn’t optional. A well-prepped surface acts as a stable canvas, allowing paint to bond chemically and mechanically for protection that lasts 5–10 years versus 1–2.
Deep Cleaning: The Non-Negotiable First Step
Thorough cleaning removes invisible enemies that sabotage adhesion. Tailor your approach to the surface:
- Interior Walls/Ceilings: Use a trisodium phosphate (TSP) solution or degreaser for kitchens. Rinse with clean water.
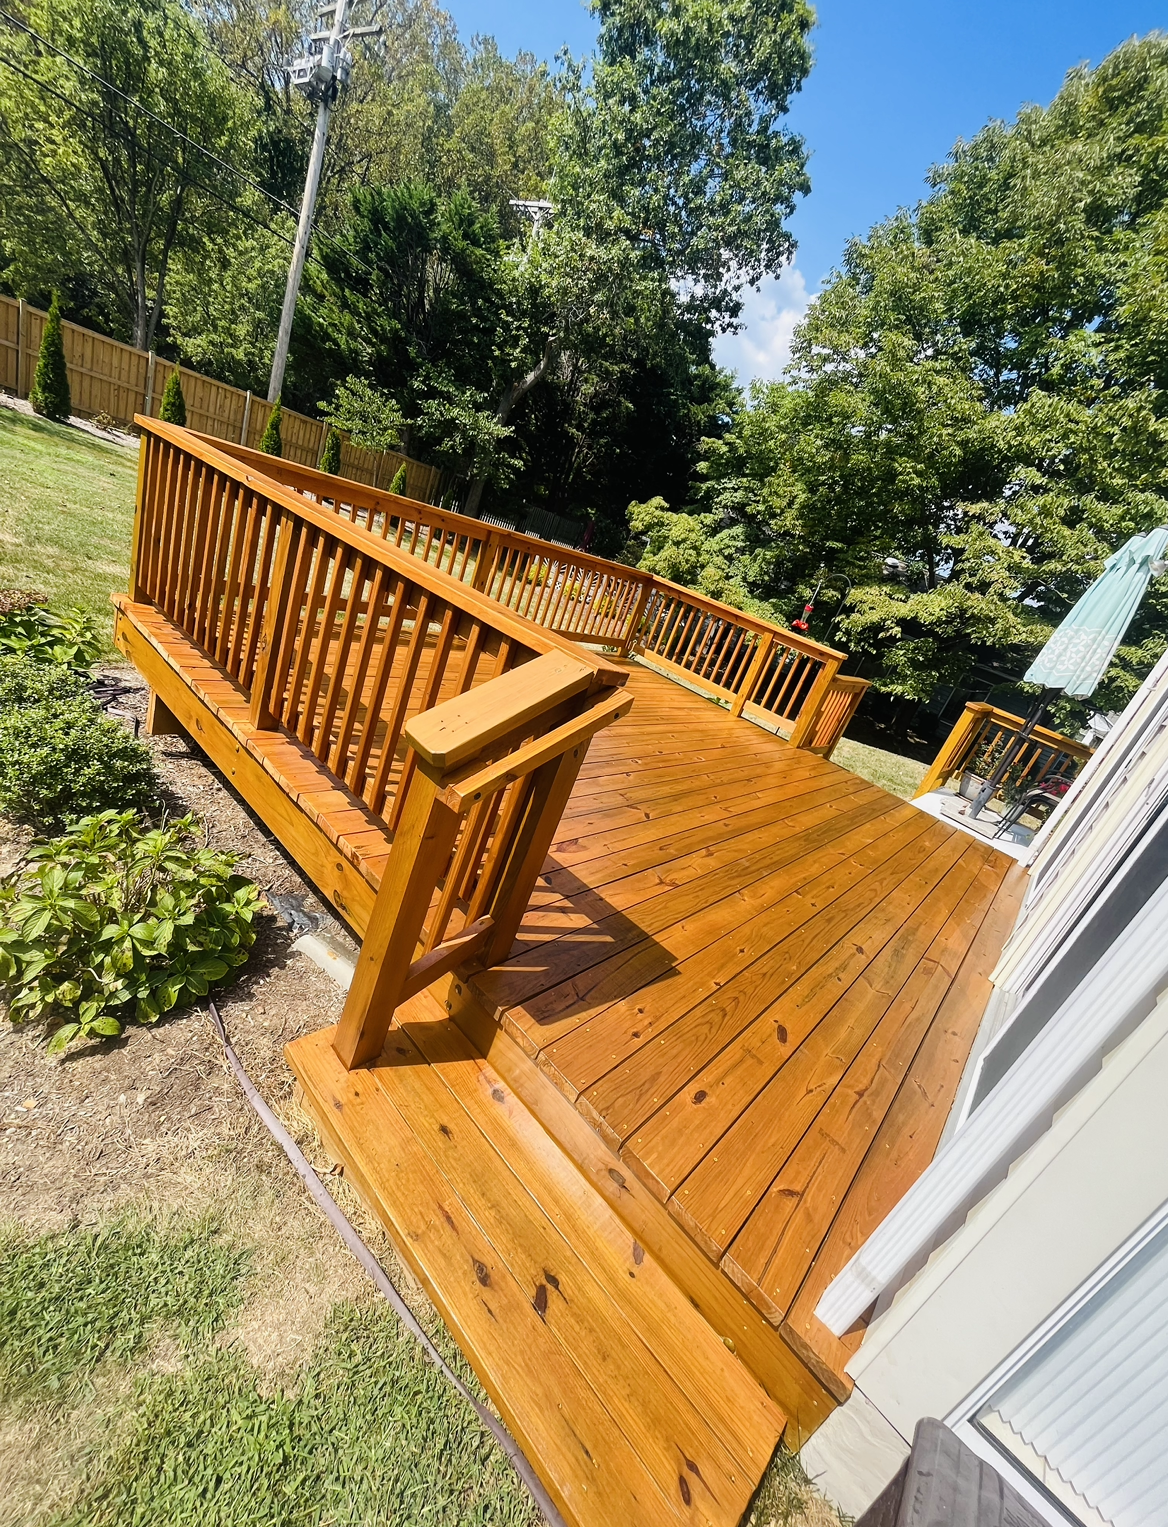
- Exterior Siding/Decks: Power wash at low pressure (500–1,200 PSI) to avoid damage. Hold the nozzle 12 inches away and keep it moving.
- Wood Trim/Cabinets: Wipe with mineral spirits to eliminate wax or polish residue.
- Metal Railings: Treat rust spots with a wire brush and phosphoric acid converter.
Always let surfaces dry completely—typically 24–48 hours—before proceeding.
Repairing Damage: Building Your Foundation
Address structural and cosmetic flaws after cleaning:
- Drywall/Plaster: Fill hairline cracks with elastomeric caulk. Patch holes larger than 1/2 inch with joint compound layered thinly over mesh tape.
- Wood Rot: Cut out damaged sections. Seal surrounding wood with epoxy consolidant before filling with epoxy putty.
- Peeling Paint: Scrape loose flakes, then sand edges smooth with 120-grit paper to prevent “telegraphing.”
- Nail Holes: Apply lightweight spackle with a putty knife, then sand flush once dry.
Sanding and Priming: The Game-Changing Duo
Sanding creates a “mechanical grip” for paint, while primer seals and unifies the surface:
- Sanding Protocol: Start with coarse grit (80–100) for leveling rough patches. Switch to medium (120–150) for final smoothing. Always sand in the direction of the grain on wood. Remove dust with a tack cloth—not a damp rag.
- Primer Selection: Use stain-blocking primers for water marks or tannin-bleeding woods (e.g., cedar). Choose bonding primers for glossy surfaces. On new drywall, apply PVA primer to seal porous paper facing.
Final Checks Before Paint Hits the Wall
Conduct a meticulous inspection:
- Run your hand over surfaces to detect rough spots or dust.
- Inspect corners and edges for missed cracks or old caulk.
- Ensure rooms are dust-free—close windows and HVAC vents during prep.
- Test primer adhesion by pressing tape onto it; if it lifts easily, re-sand.
- Verify humidity is below 50% and temperatures are between 50–90°F for optimal curing.
Mastering surface preparation turns painting from a chore into a transformative act of home care. Remember: cleaning, repairing, sanding, and priming aren’t tedious delays—they’re investments in a finish that withstands daily life and boosts your property’s appeal. Commit to these steps rigorously, and your paint will reward you with vibrant color and protection for years. For your next project, dedicate one full day to prep per room or exterior section. The extra hours will save you countless weekends of touch-ups, proving that in painting—as in life—foundations matter most.


