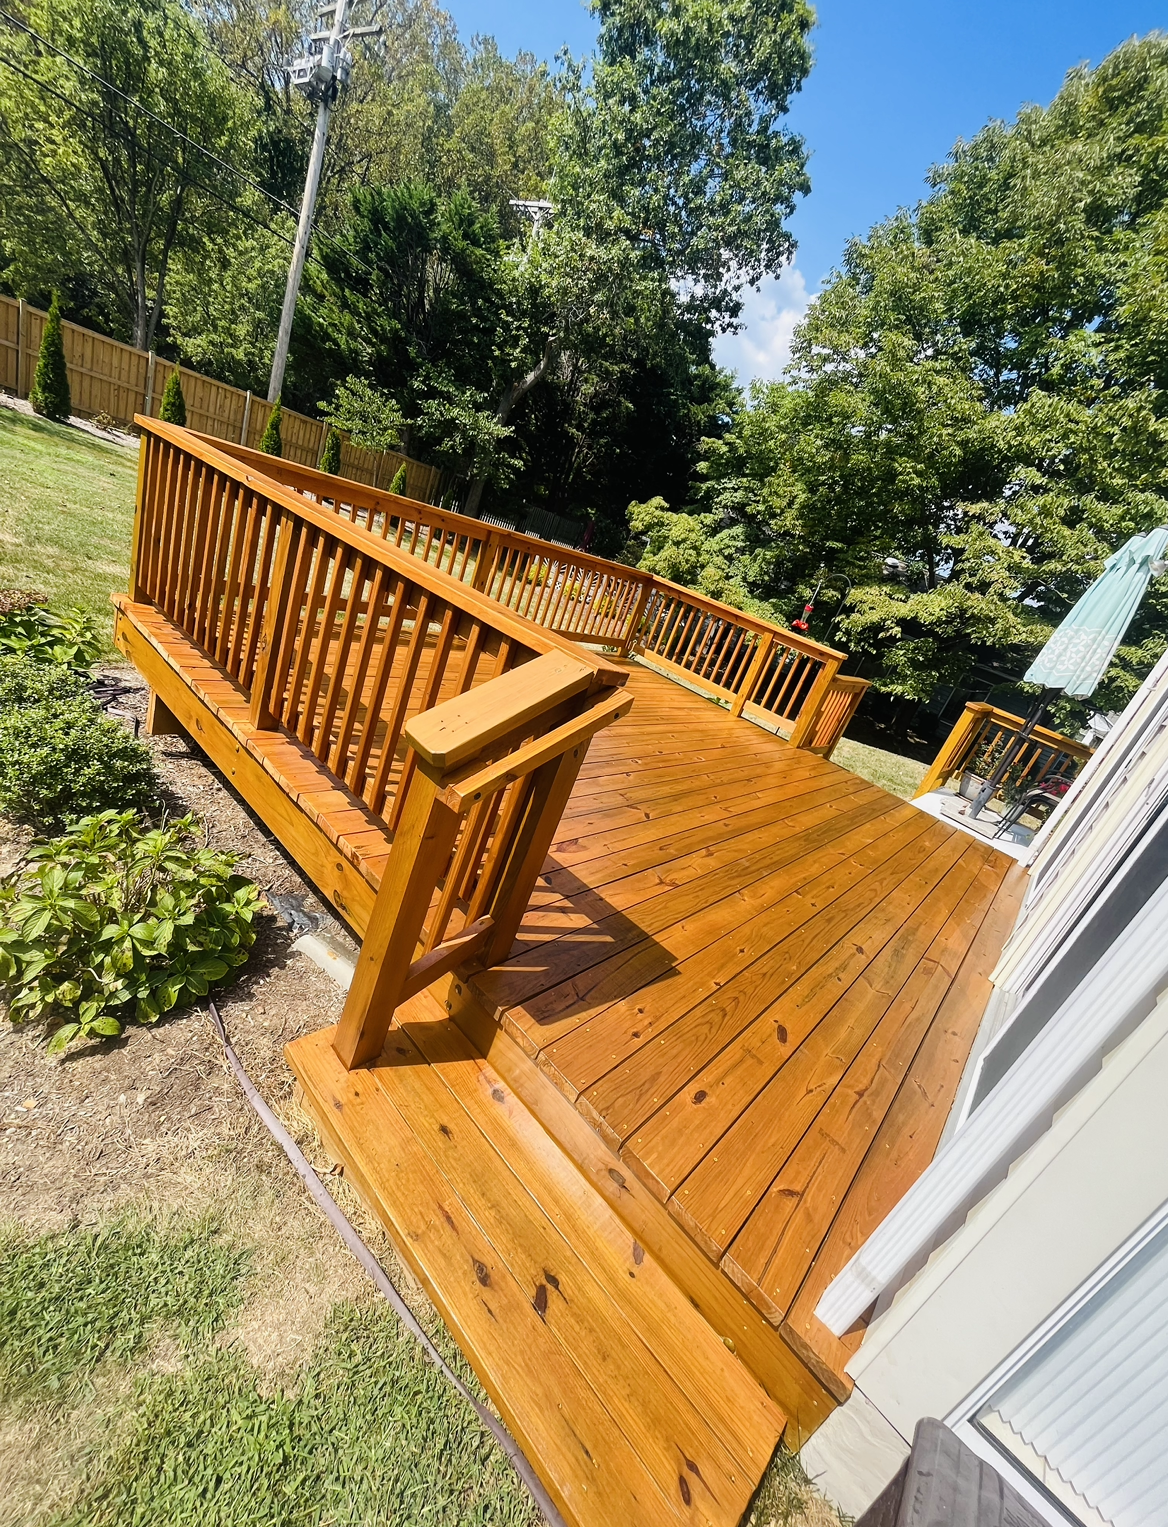
Your home’s exterior is its first impression, a shield against the elements, and a significant factor in its overall value. A fresh coat of paint is one of the most impactful and cost-effective home improvement projects you can undertake. However, the difference between a professional-looking finish that lasts for years and a peeling, fading disappointment often comes down to the meticulous work done before the first drop of paint is ever poured. This article dives into the critical, yet often overlooked, art of exterior surface preparation. Proper prep is not just a suggestion; it’s the absolute foundation of a durable and beautiful paint job, protecting your investment and elevating your home’s curb appeal for the long haul.
The Non-Negotiable First Step: Inspection and Cleaning
Never paint over a dirty or damaged surface. Begin with a thorough inspection of all areas to be painted. Walk around your home with a notepad and carefully examine siding, trim, and doors for any signs of failure. Look for cracking, peeling, or chalking paint, as well as structural issues like rotten wood, which must be repaired before painting. Once you’ve documented the necessary repairs, the next vital phase is deep cleaning. This is where power washing proves indispensable. Using a medium-pressure tip (25-40 degrees) and a consistent technique, remove all dirt, grime, spider webs, and loose paint flakes. Hold the wand at a consistent angle and distance to avoid damaging the siding. For mildew, apply a diluted solution of bleach and water or a dedicated mildewcide, let it sit, and then rinse thoroughly. The surface must be completely dry before moving on to repairs.
Repairing Damage and Ensuring a Stable Base
A flawless paint job is only as good as the surface beneath it. Addressing substrate issues is paramount. For wood surfaces, this means:
- Repairing Rotted Wood: Use a 5-in-1 tool to scrape out all soft, rotten wood. Treat the area with a wood hardener, then fill it with a high-quality, two-part epoxy wood filler. Once cured, sand it flush with the surrounding surface.
- Scraping and Sanding: Remove all loose and peeling paint with a pull scraper and a wire brush. Follow up with thorough sanding to feather the hard edges of the remaining paint down to the bare wood, creating a smooth transition. This prevents the new paint from peeling at those edges.
- Caulking and Sealing: Seal all gaps and joints to prevent moisture intrusion and drafts. Apply a high-quality, paintable exterior acrylic latex or siliconeized acrylic caulk around windows, doors, and trim. Ensure old, cracked caulk is completely removed before applying new beads.
Selecting the Right Primer and Paint
Choosing the correct products is a critical decision that affects the longevity and appearance of your work. Primer is not optional; it provides adhesion, blocks stains, and ensures true color representation from your topcoat. For bare wood, an oil-based or acrylic bonding primer is excellent. For heavily stained areas or to prevent tannin bleed from woods like cedar or redwood, a dedicated stain-blocking primer is essential. For the topcoat, 100% acrylic latex paint is the industry standard for exterior surfaces. It’s flexible, breathable, durable, and resistant to UV fading. Invest in high-quality paint; it typically has a higher concentration of resins and pigments, which means better coverage, longer life, and ultimately, fewer coats and less work for you.
Application Techniques for a Flawless Finish
Your meticulous preparation can be undone by poor application. The golden rule is to follow the manufacturer’s instructions on the can for temperature and humidity ranges. Avoid painting in direct, hot sunlight or on windy, dusty days. Use the right tools: brushes for trim and edges, rollers for large, flat areas, and a sprayer for maximum efficiency on large, unobstructed surfaces (though spraying requires significant masking skill). If brushing, apply a manageable section at a time and maintain a “wet edge” to prevent lap marks. If rolling, back-brush immediately after rolling to even out the texture and push paint into the surface for better adhesion. Most projects will require two coats for uniform color and maximum protection. Allow the first coat to dry completely as recommended before applying the second.
Navigating Weather and Timing
Mother Nature is an unforgiving partner in exterior painting. Ideal conditions are a clear day with temperatures between 50°F and 85°F (10°C and 30°C) and low humidity. Painting on a surface that is too hot can cause the paint to dry too quickly, leading to poor adhesion and blisters. Painting when it’s too cold or when dew is expected can prevent proper curing, resulting in a film that remains soft and prone to washing off. Always check the weather forecast meticulously. Plan your work so you are not painting on the shaded side of the house early in the day if it will be in direct sun later, as this can cause premature drying issues. Proper timing ensures the paint cures and forms a durable, protective film.
In the world of exterior painting, preparation is not merely a preliminary step—it is the project’s foundation. The time and effort invested in meticulous inspection, deep cleaning, repairing damage, and careful product selection directly dictate the quality and longevity of your results. Skipping or rushing these stages is a gamble that almost always leads to premature failure, costing you more time and money in the long run. Remember, a beautiful finish is born from an impeccably prepared surface. Your practical takeaway is this: dedicate at least two-thirds of your total project time to preparation. Embrace this process not as a tedious chore, but as the most crucial part of protecting and enhancing your home. The flawless, durable finish will be your reward for years to come.


